|
|
|

Use this function to check whether the last backup was error-free or whether files have changed since the previous backup. In contrast to verification during backup, each individual file at the destination will be compared to the same file at the source bit by bit.

When verifying files, you must consider how the data was backed up (see Backup destination):
Files can be compared either to files in the original source directory or to files in any other directory:
Examine compressed single files
If the backup was made into single compressed files, enable this option
to ensure that all files will automatically be unpacked on verification
(default setting: enabled).
No decryption of enc files
Personal Backup adds the file extension enc for
uncompressed encrypted files. These files are decrypted
automatically on verification. If there are files from another
application using this extension, the decryption will fail.
You can prevent the program from decrypting such files by
checking this option.
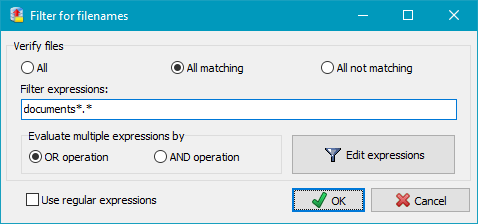
By using filename filters, filenames matching certain
patterns may be included or excluded. Use the same rules as
described for backup file filters
(Standard file filter
or Regular expressions).
You can specify whether you want to verify only files older or newer than a given fixed or relative date.
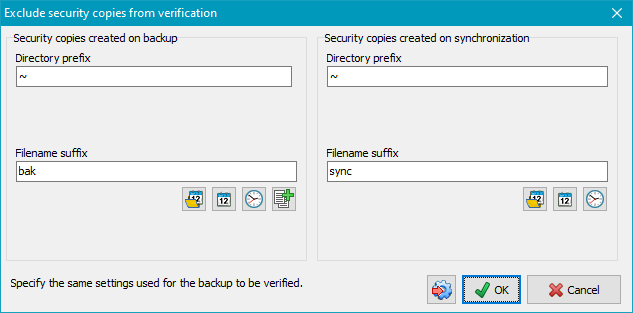
If Security copies were created during backup, these files should be excluded from verification because they will not exist at the source, making verification impossible. Insert the same values for prefixes and suffixes as used during backup. To facilitate this setting, you can click the very left button at the bottom to import the settings from the corresponding backup task.
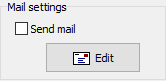
Similar to the option for backups, a mail with status
information and optionally a log file can be sent after
performing a verification task. The settings
are the same as for backup.
Here you can optionally specify a fixed password to be used for decryption of files.
In this case the user will not be prompted to enter it during verify. So
a verification may be performed in background without user interaction.
By clicking the small button at the right, you can import the password from
the associated backup task. Note that this option
cannot be used if the backup task is protected.
The icon on the button changes to show whether a fixed password
![]() was specified or the password has to be queried
was specified or the password has to be queried
![]() on verify.
on verify.
Clicking the ![]() button will open a dialog to adjust
the log settings for Verify.
button will open a dialog to adjust
the log settings for Verify.
Click then ![]() button to view the current log.
button to view the current log.
Clicking the ![]() or
or ![]() button will save a configured verify task with all settings to disk.
To load and reuse such a saved task, click the
button will save a configured verify task with all settings to disk.
To load and reuse such a saved task, click the
![]() button.
button.
A saved verify task can also be started from the command
line. This makes it possible to use the Windows Task
Scheduler to verify files at specific times, or to verify a backup directory
by adding a shortcut to the Windows desktop:
PersBackup /verify <verify-task>
You can configure a Windows scheduled task to carry out an automatic Verify
by clicking the ![]() button. The configuration procedure is the same as described for backups.
button. The configuration procedure is the same as described for backups.
Clicking the button will start the verification. First the directory to be verified will be scanned
to count all affected files. The subsequent comparison will have one of the following results:
Notes on log: The result of the verification will be shown in the log as described below: